Google Auth
Prerequisites
- A Gmail Account, e.g.: example.app@gmail.com
- A Firebase Account ( must be created with the same Gmail)
- A Google Cloud Platform Account (must be created with the same Gmail)
- A Supabase Account created with the same email (recommended, but not mandatory)
Create a new project on Google Cloud
- Visit: Google Cloud Console
- Sign in with your Gmail Account.
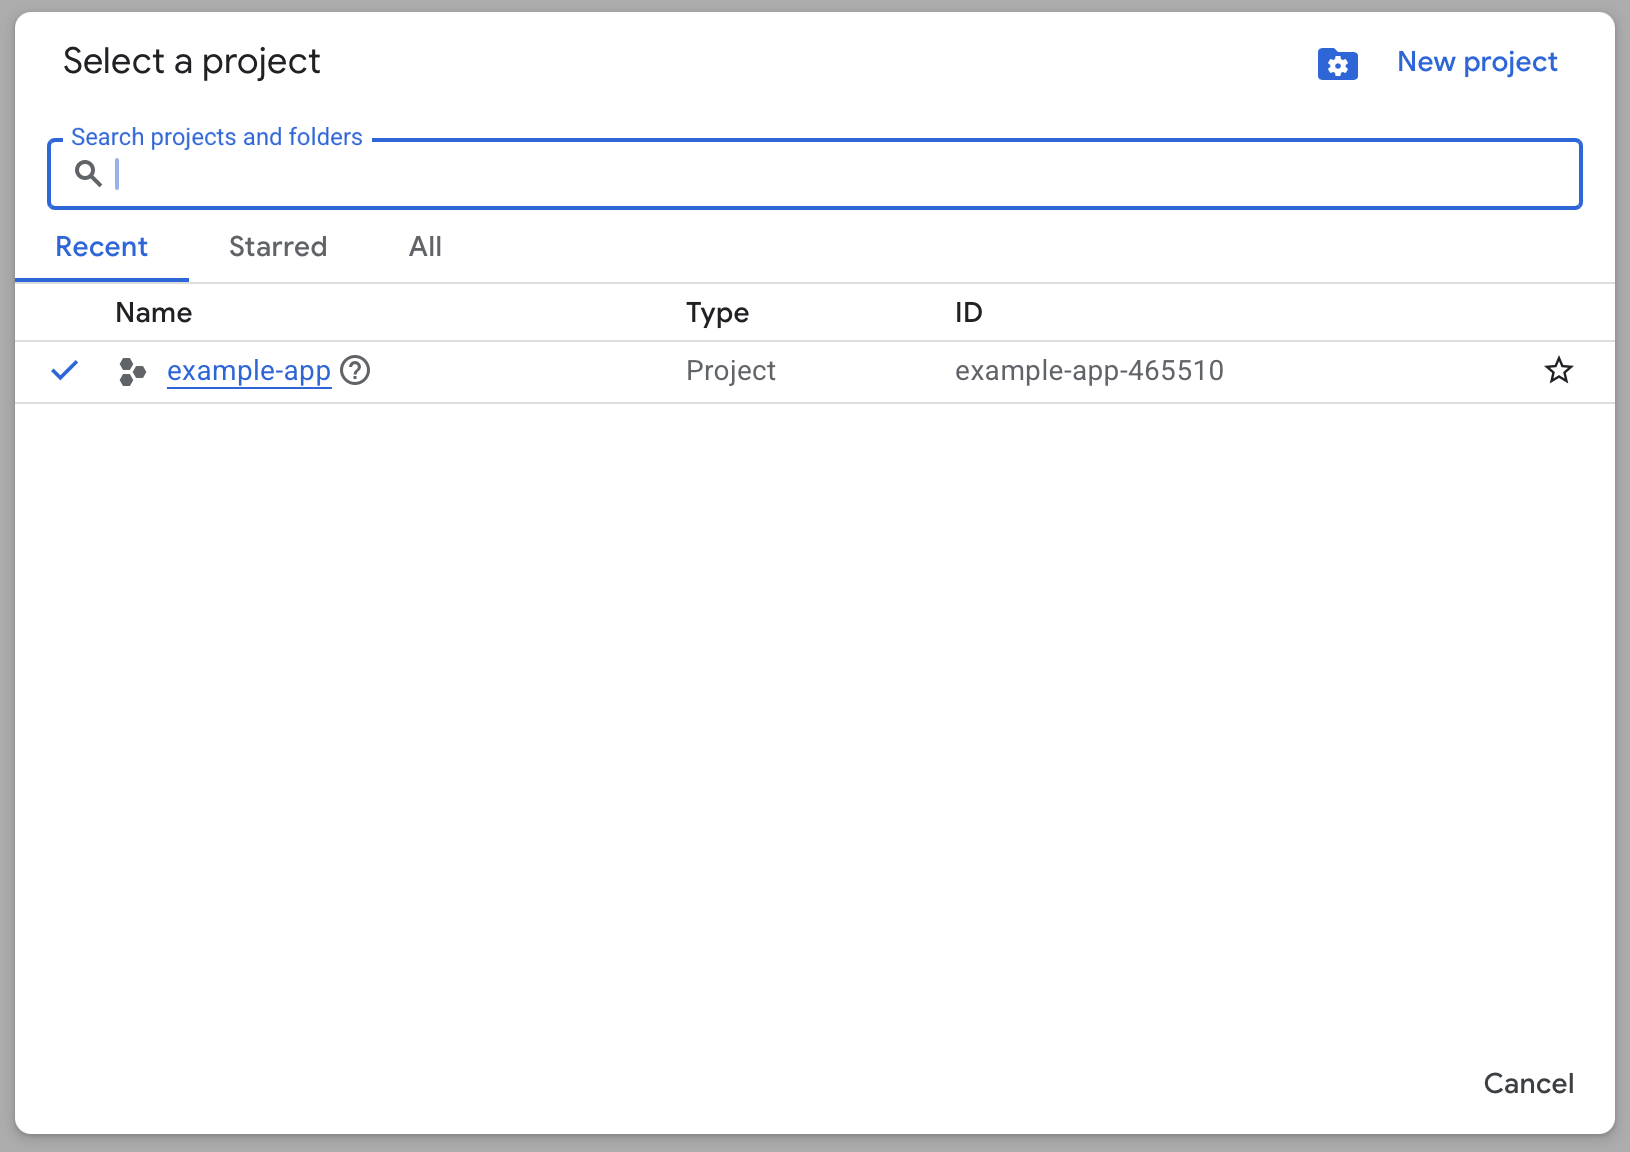
- In the top navbar, open the project selector and click “New Project”:
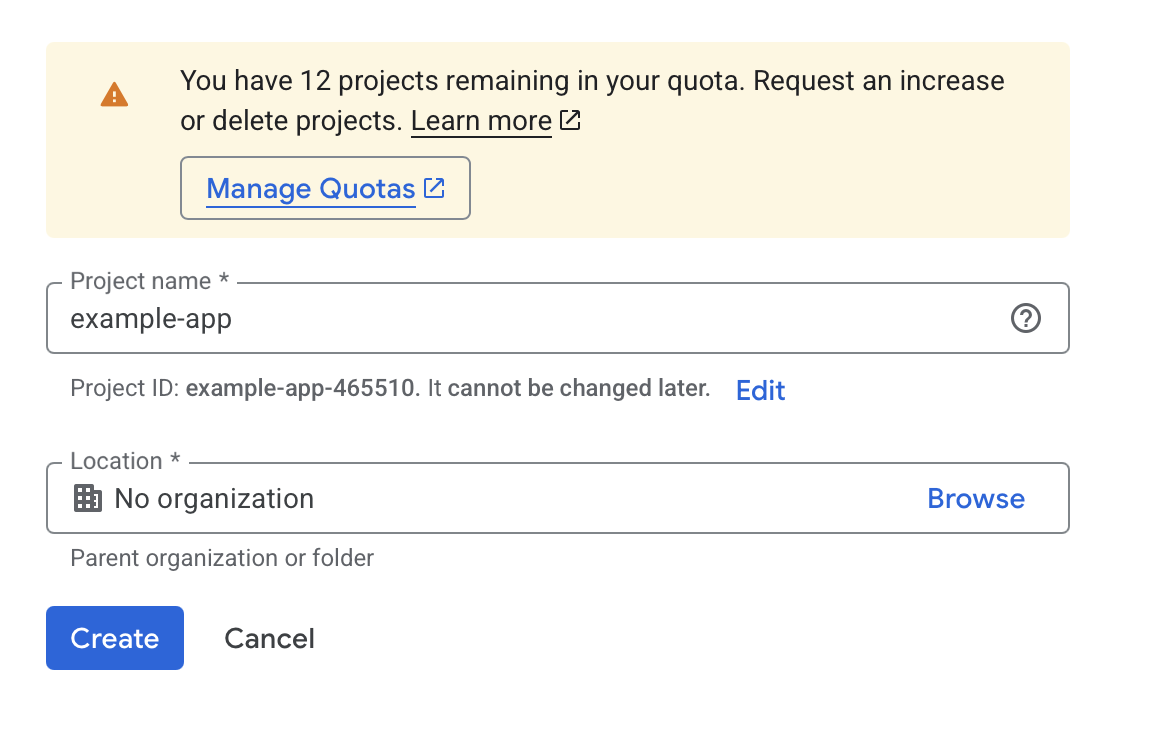
- Choose a name for the project:
Configure OAuth consent screen
This step is required for Firebase to generate clients, API keys, and service accounts. Without it, Firebase cannot proceed.
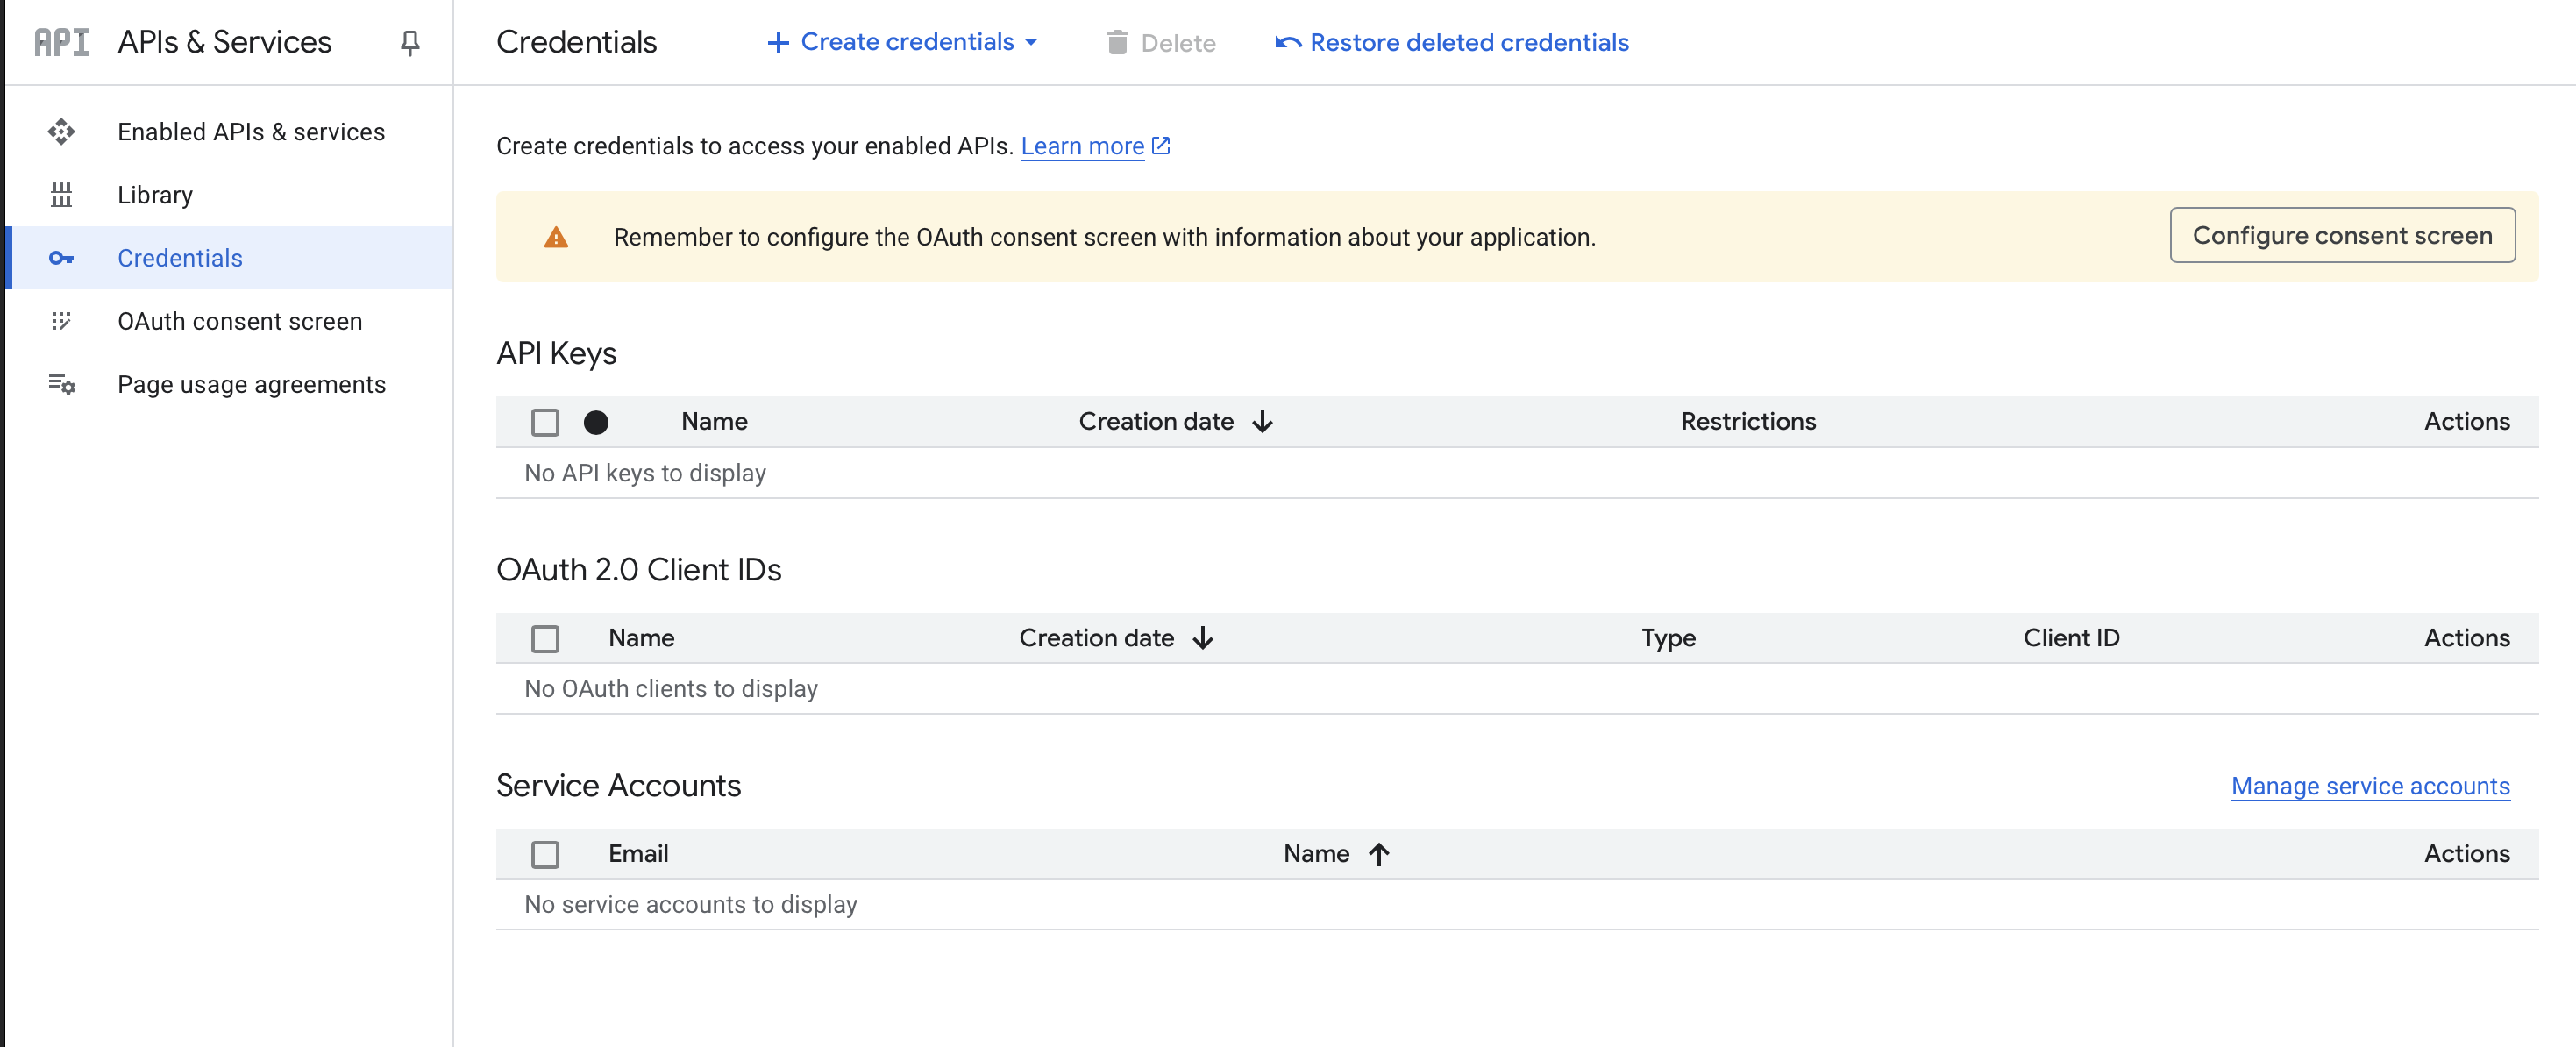
- Navigate to APIs & services > Credentials and click “Configure consent screen”
- Fill in the required fields:
- App name
- Support Email
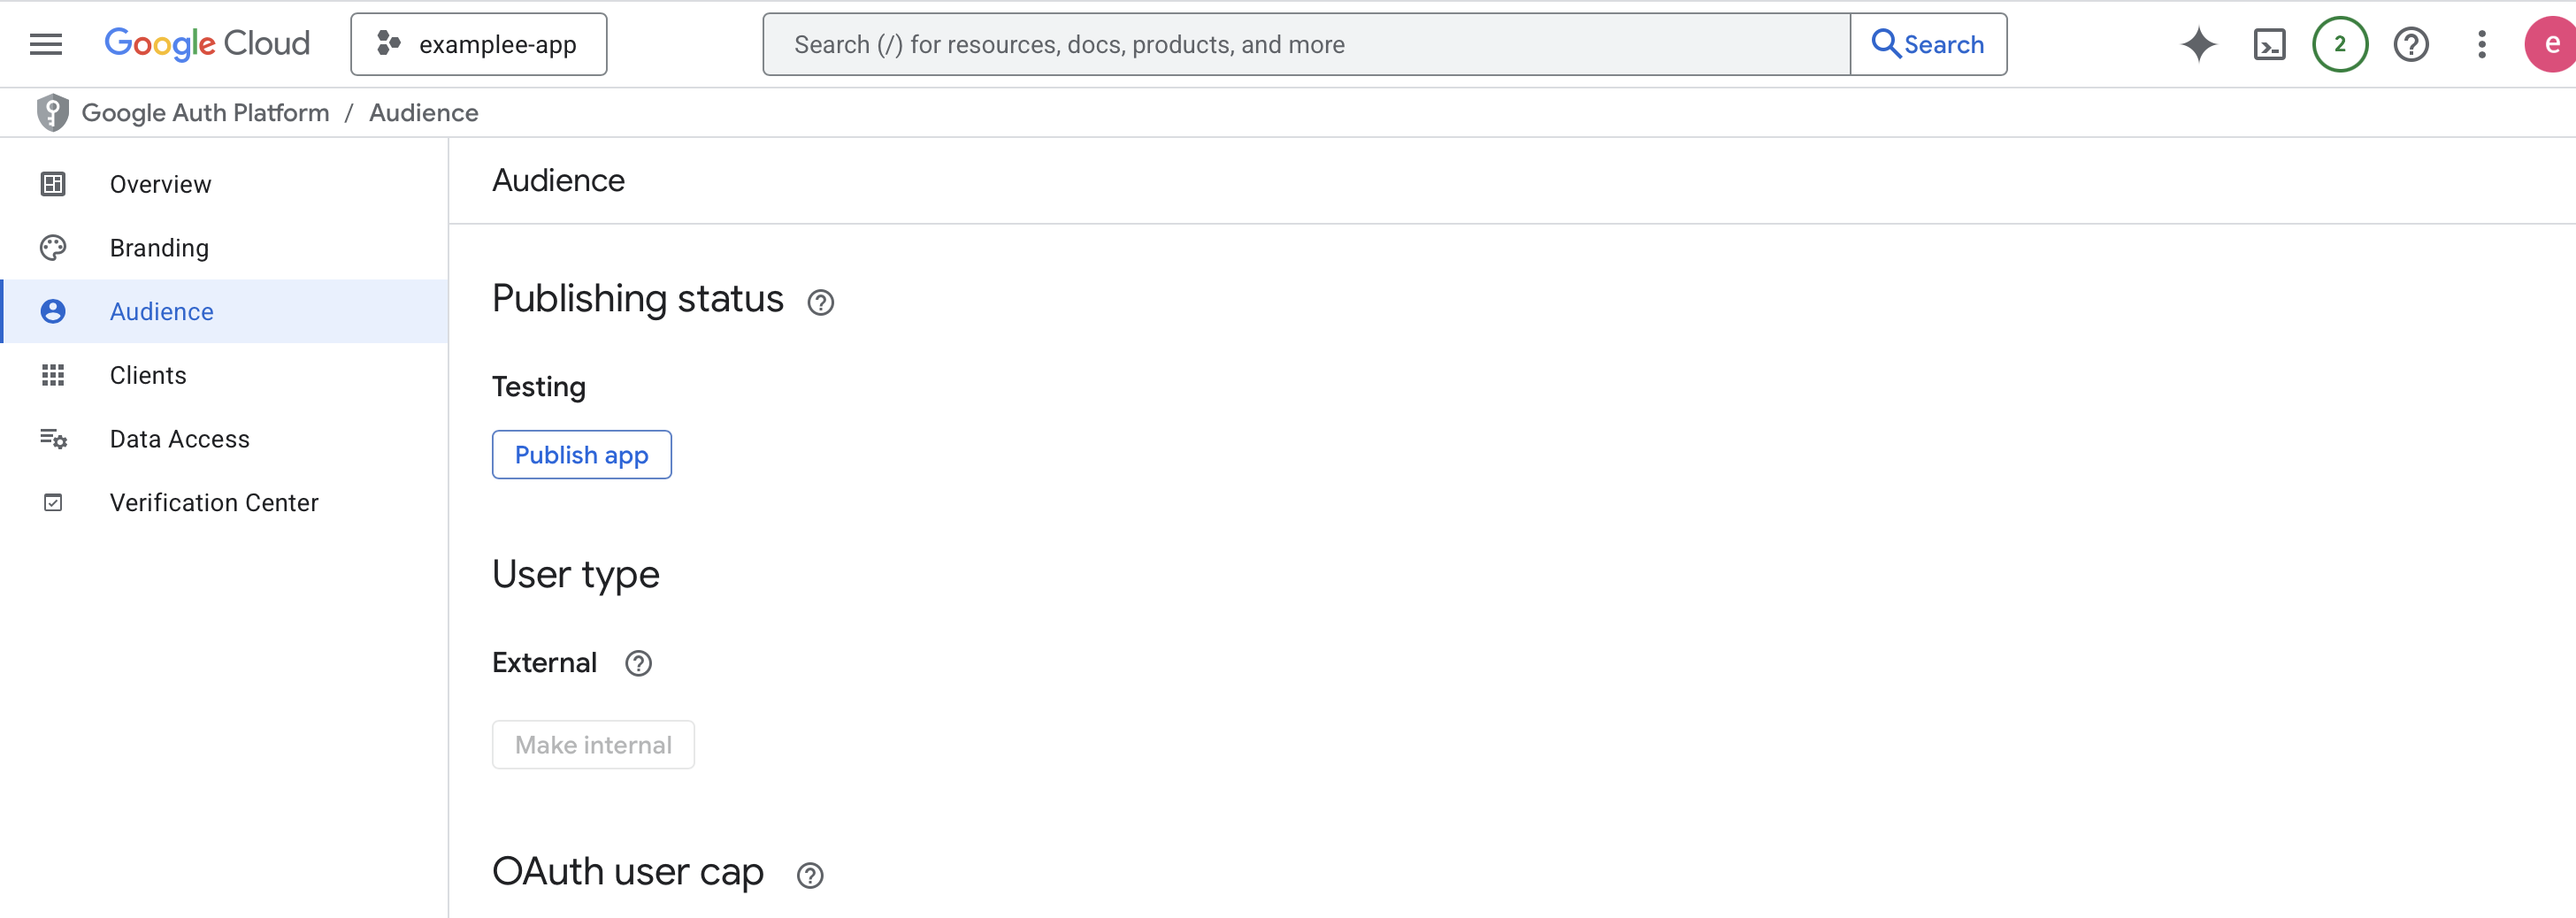
- In the section “Audience”, select “External”.
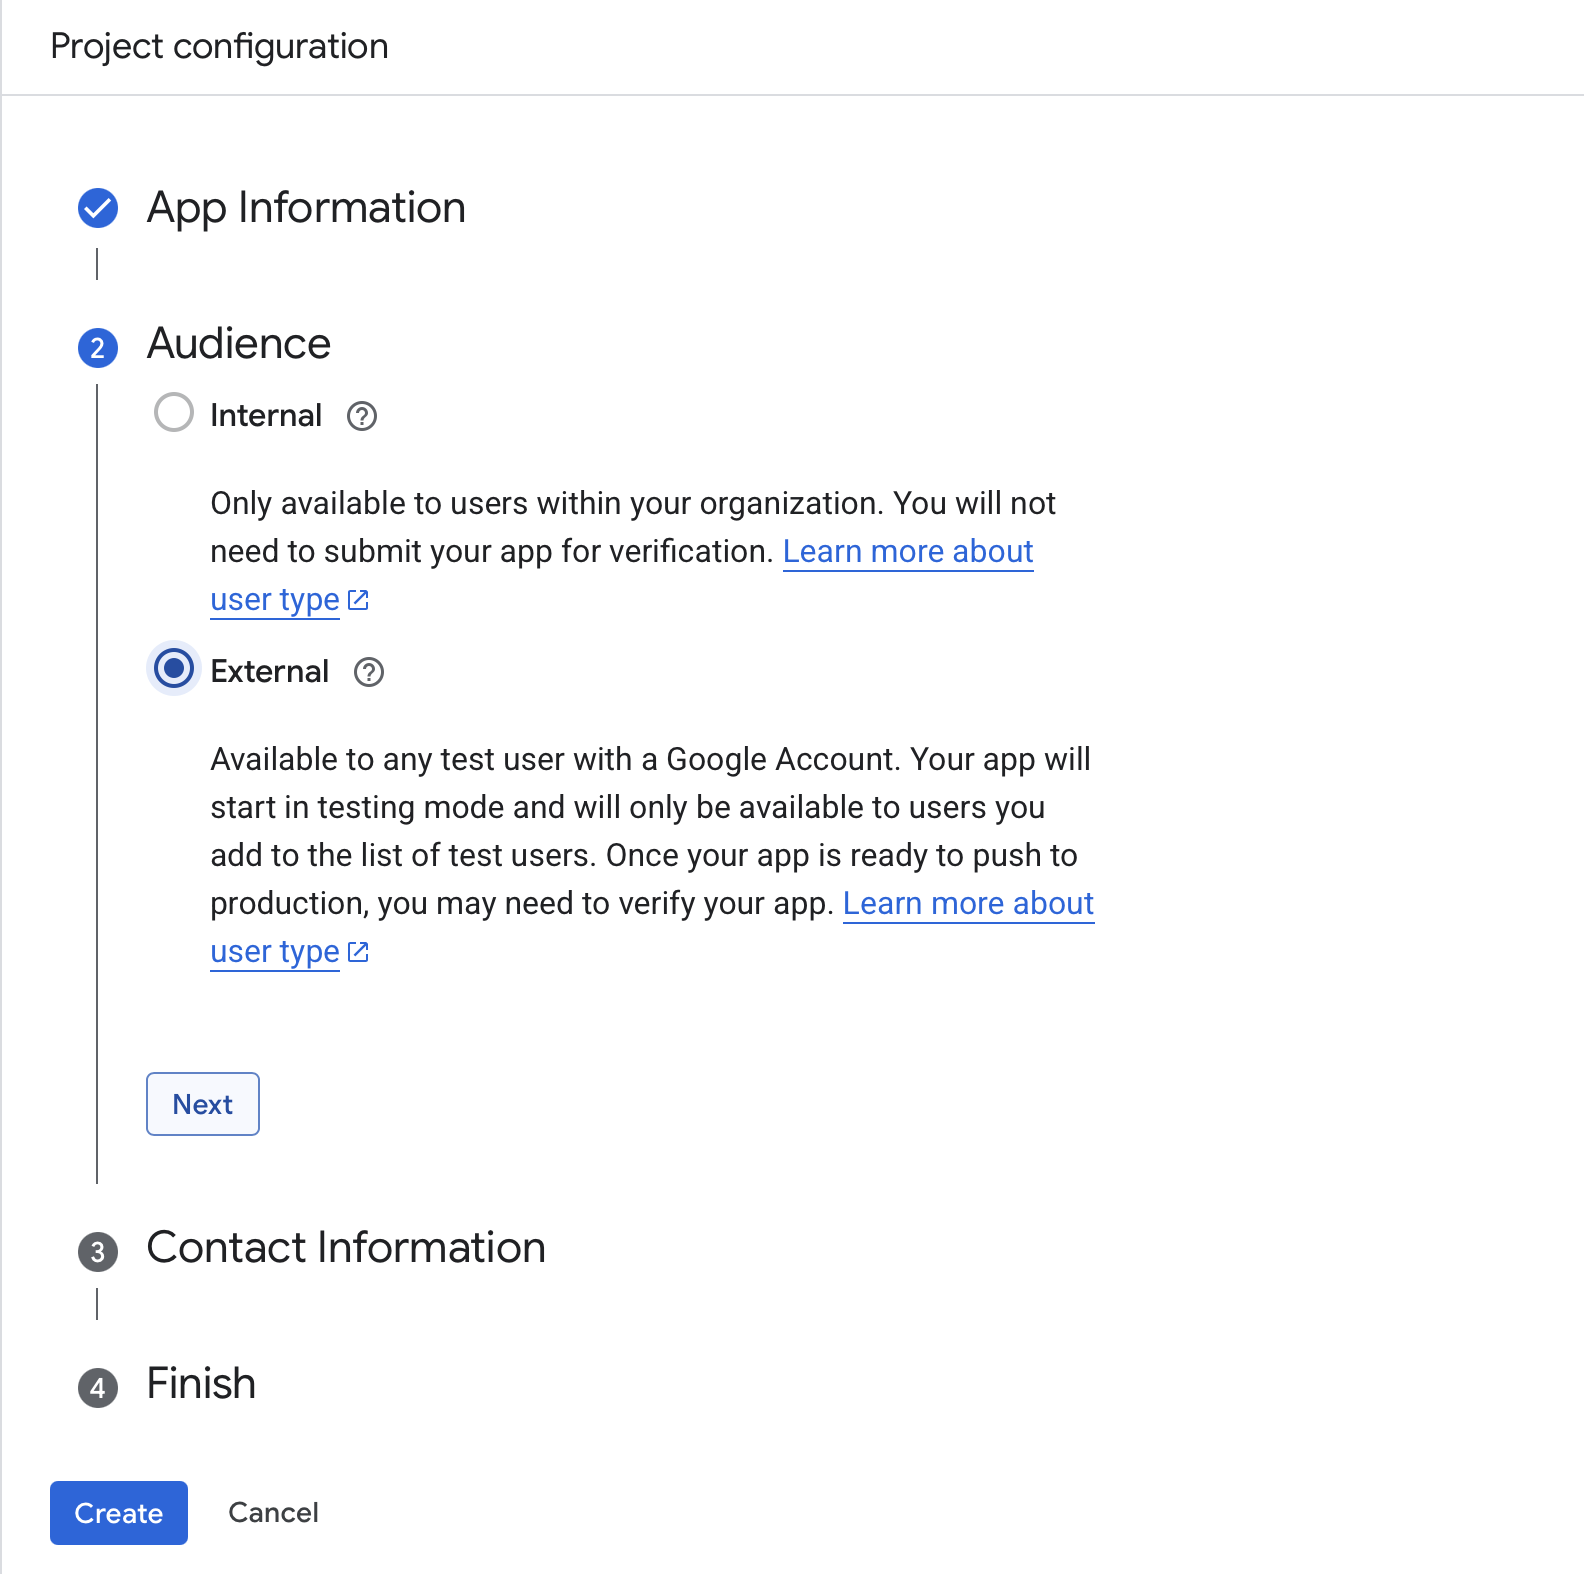
- Click Create to complete the setup.
- Back on the “Audience” section and click “Publish App”
Create the project on Firebase
Once the consent screen is configured:
- Go to Firebase Console
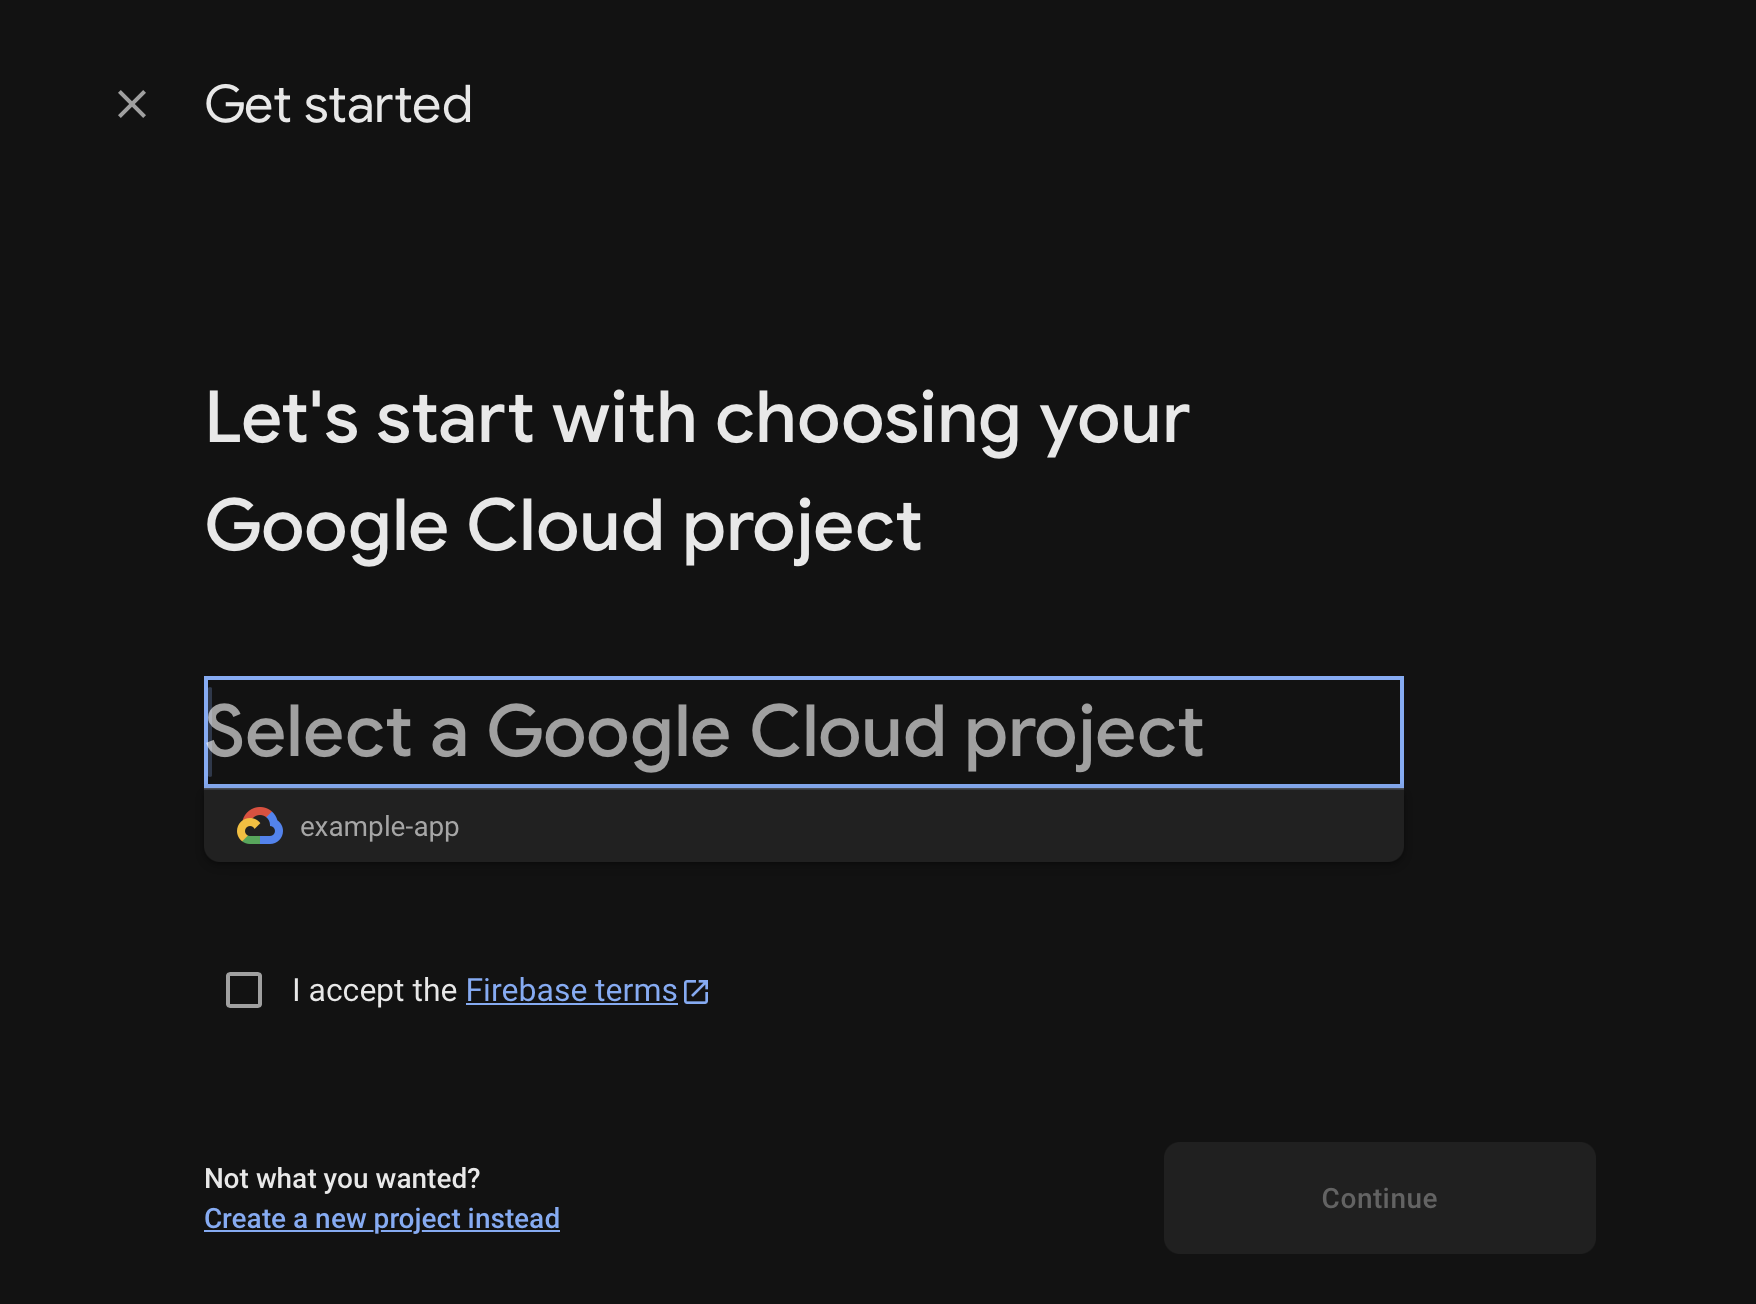
- Click “Add Firebase to Google Cloud project”
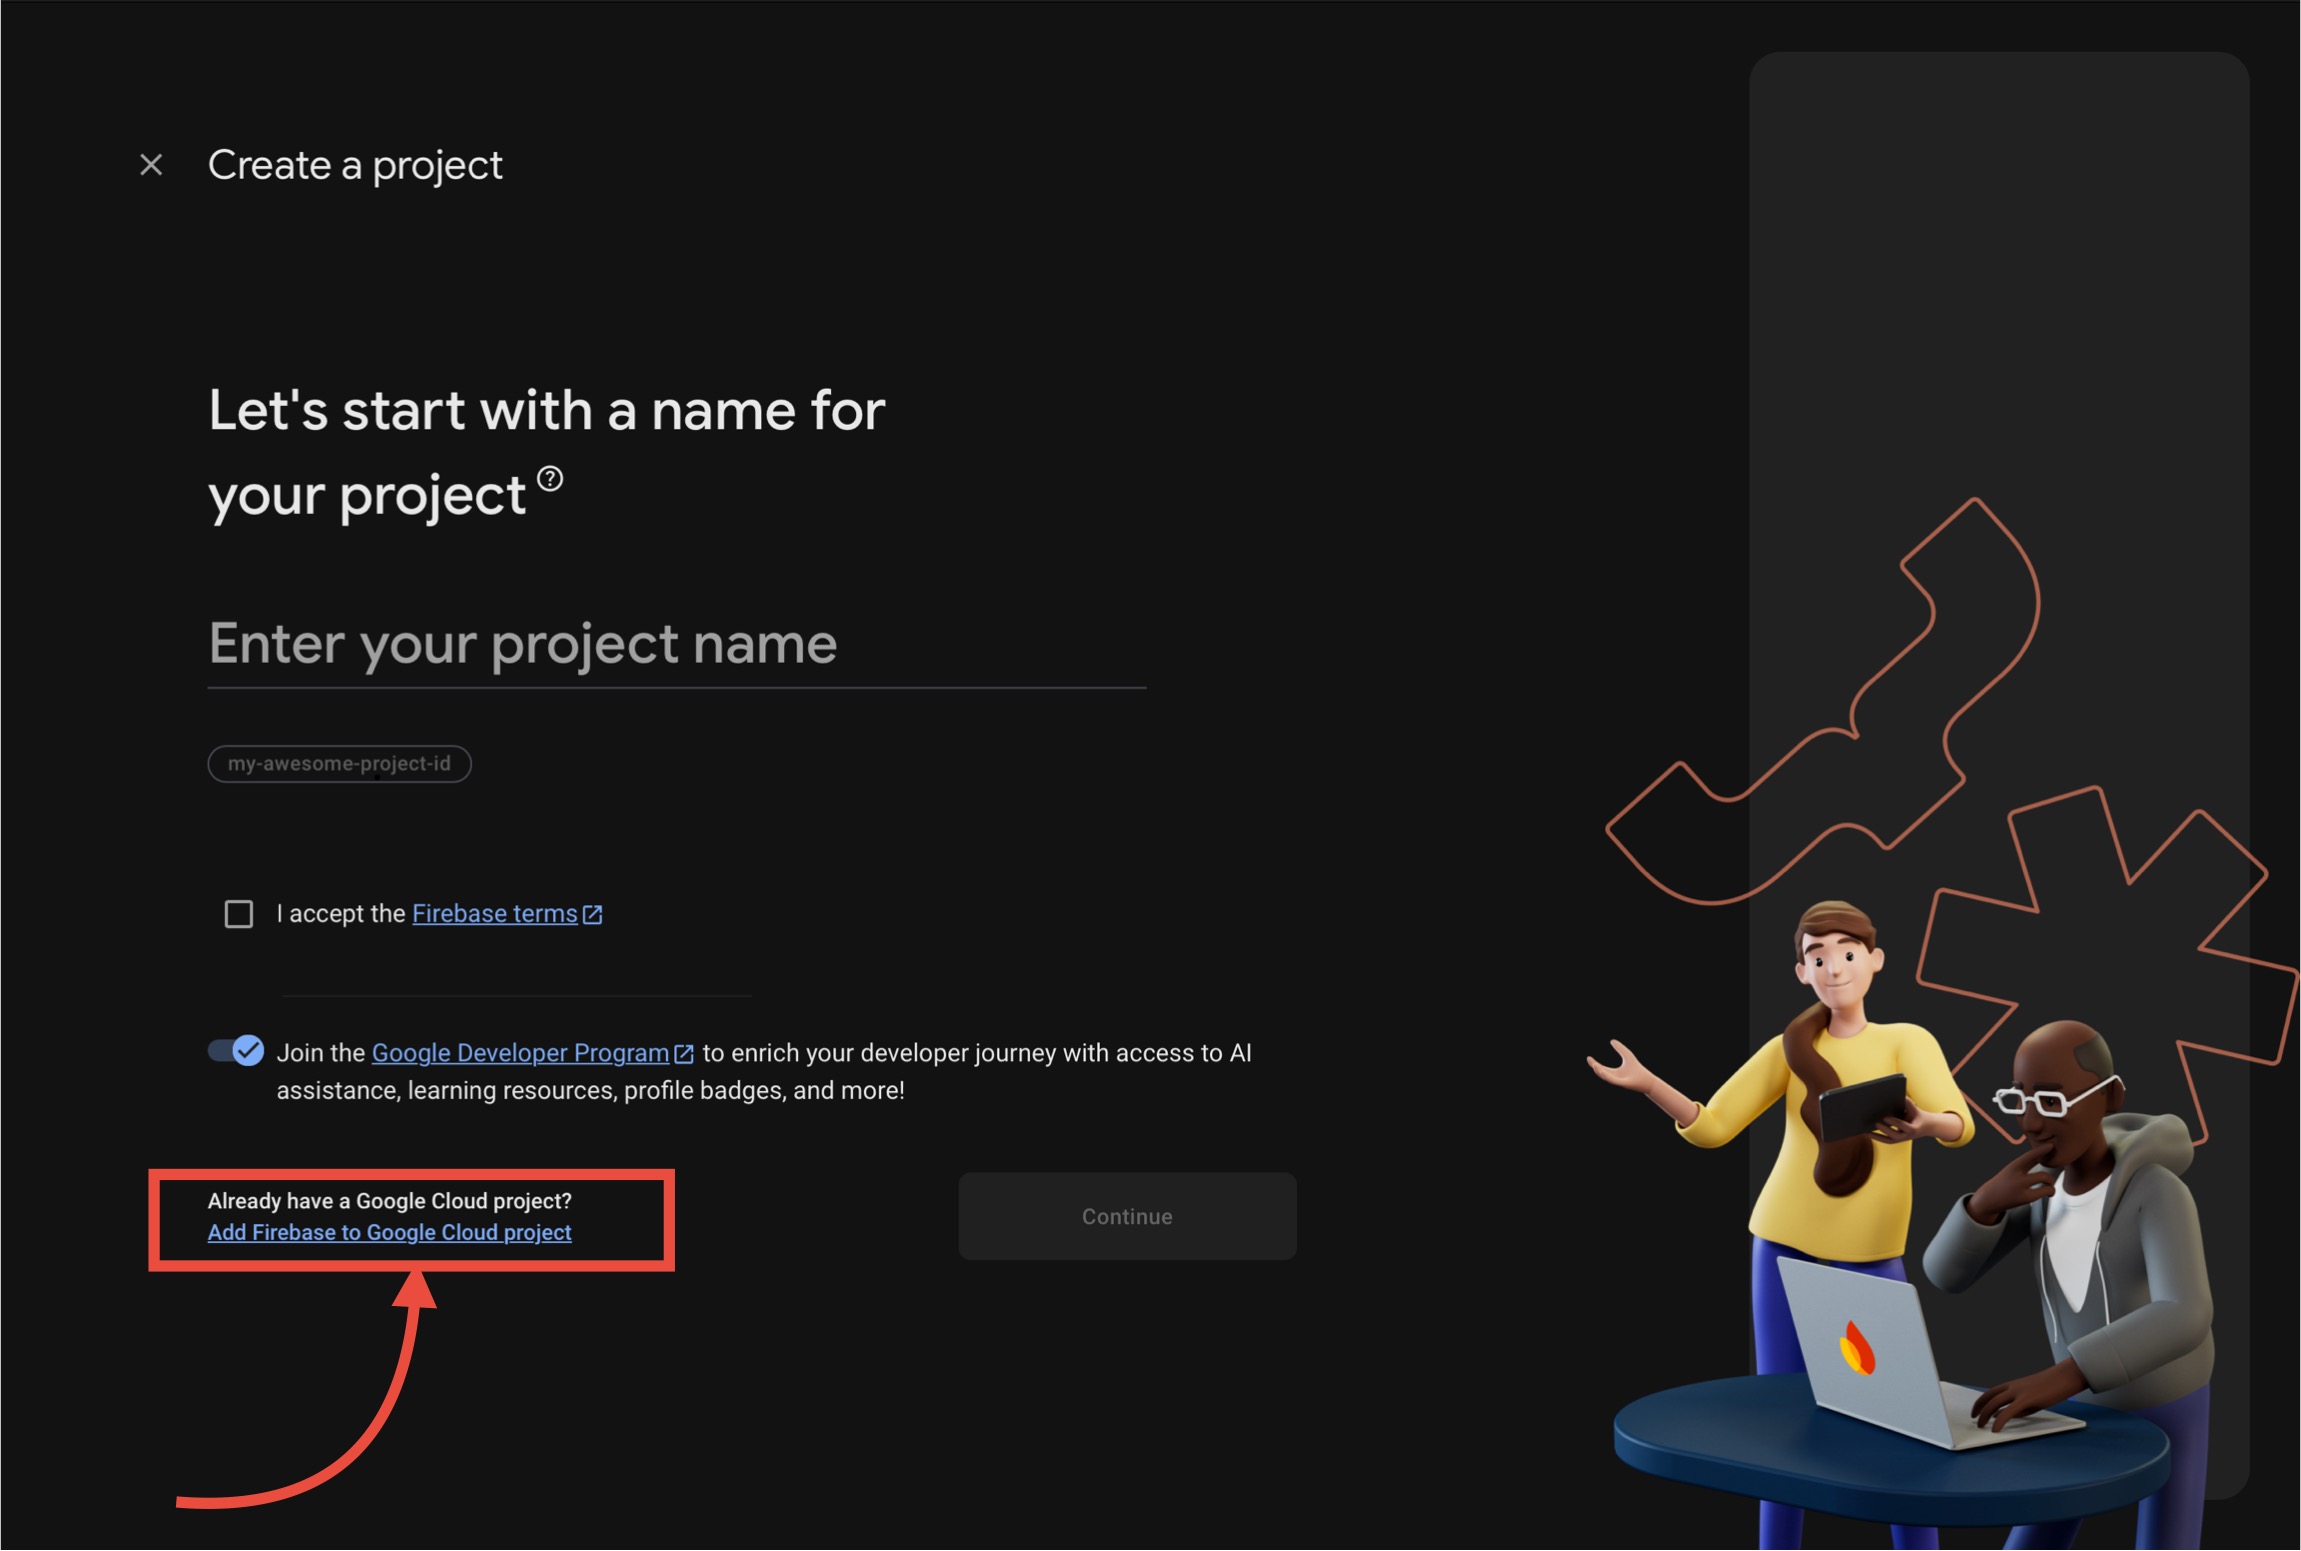
- Choose the Google Cloud Platform project you created earlier:
Important: This allows Firebase to automatically generate clients, API keys, and service accounts. Otherwise, you’ll need to create them manually (not recommended).
iOS Configuration
HOW TO FIND APP ID AND TEAM ID? By selecting the app on the App Store Connect, you can find the app’s App ID in the address bar and the Team ID in the membership details.
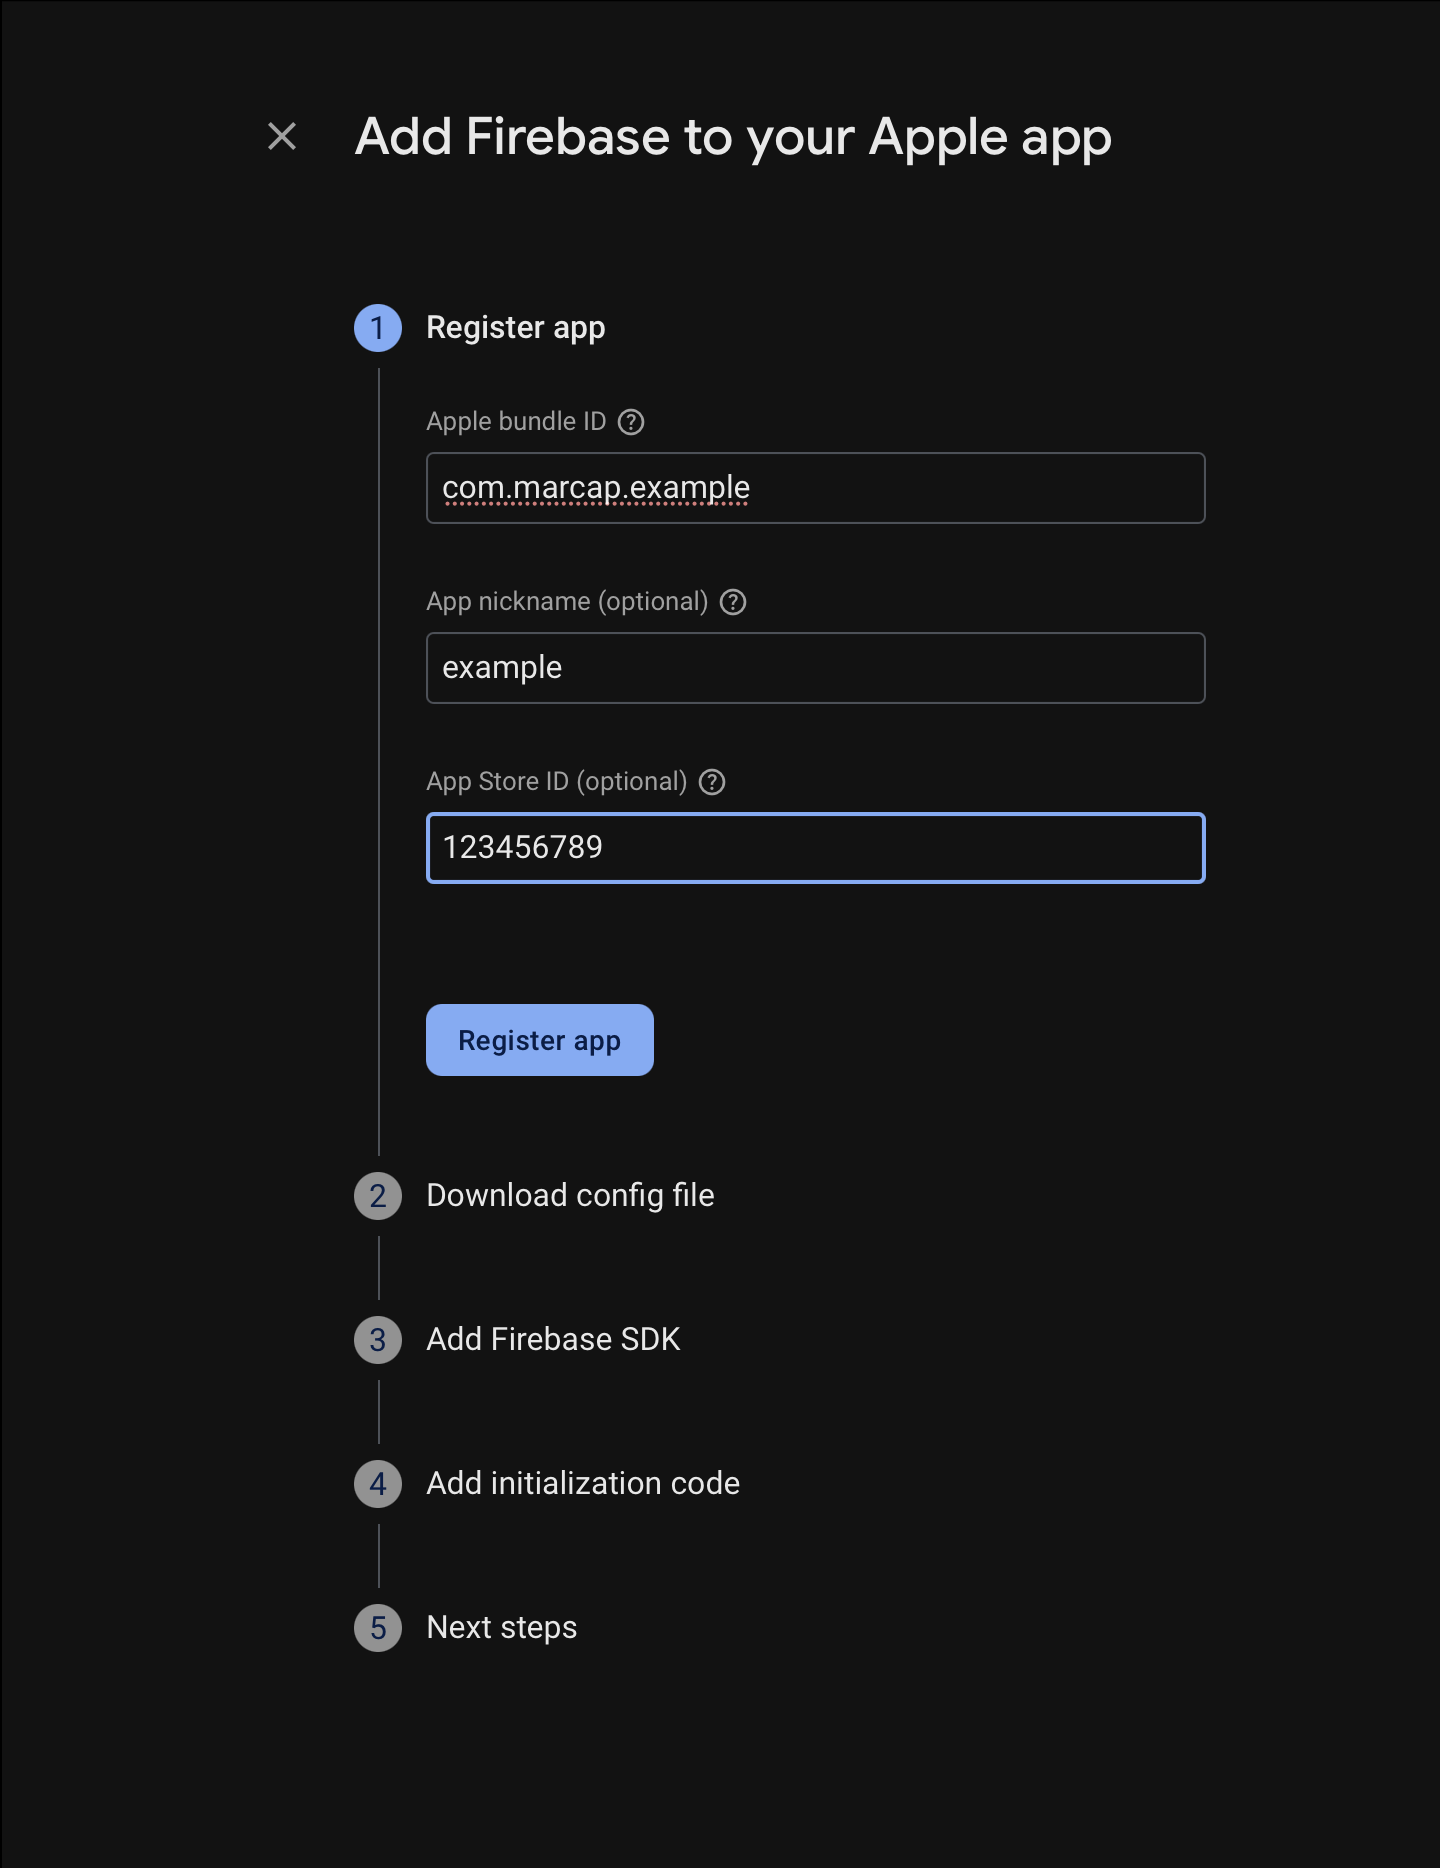
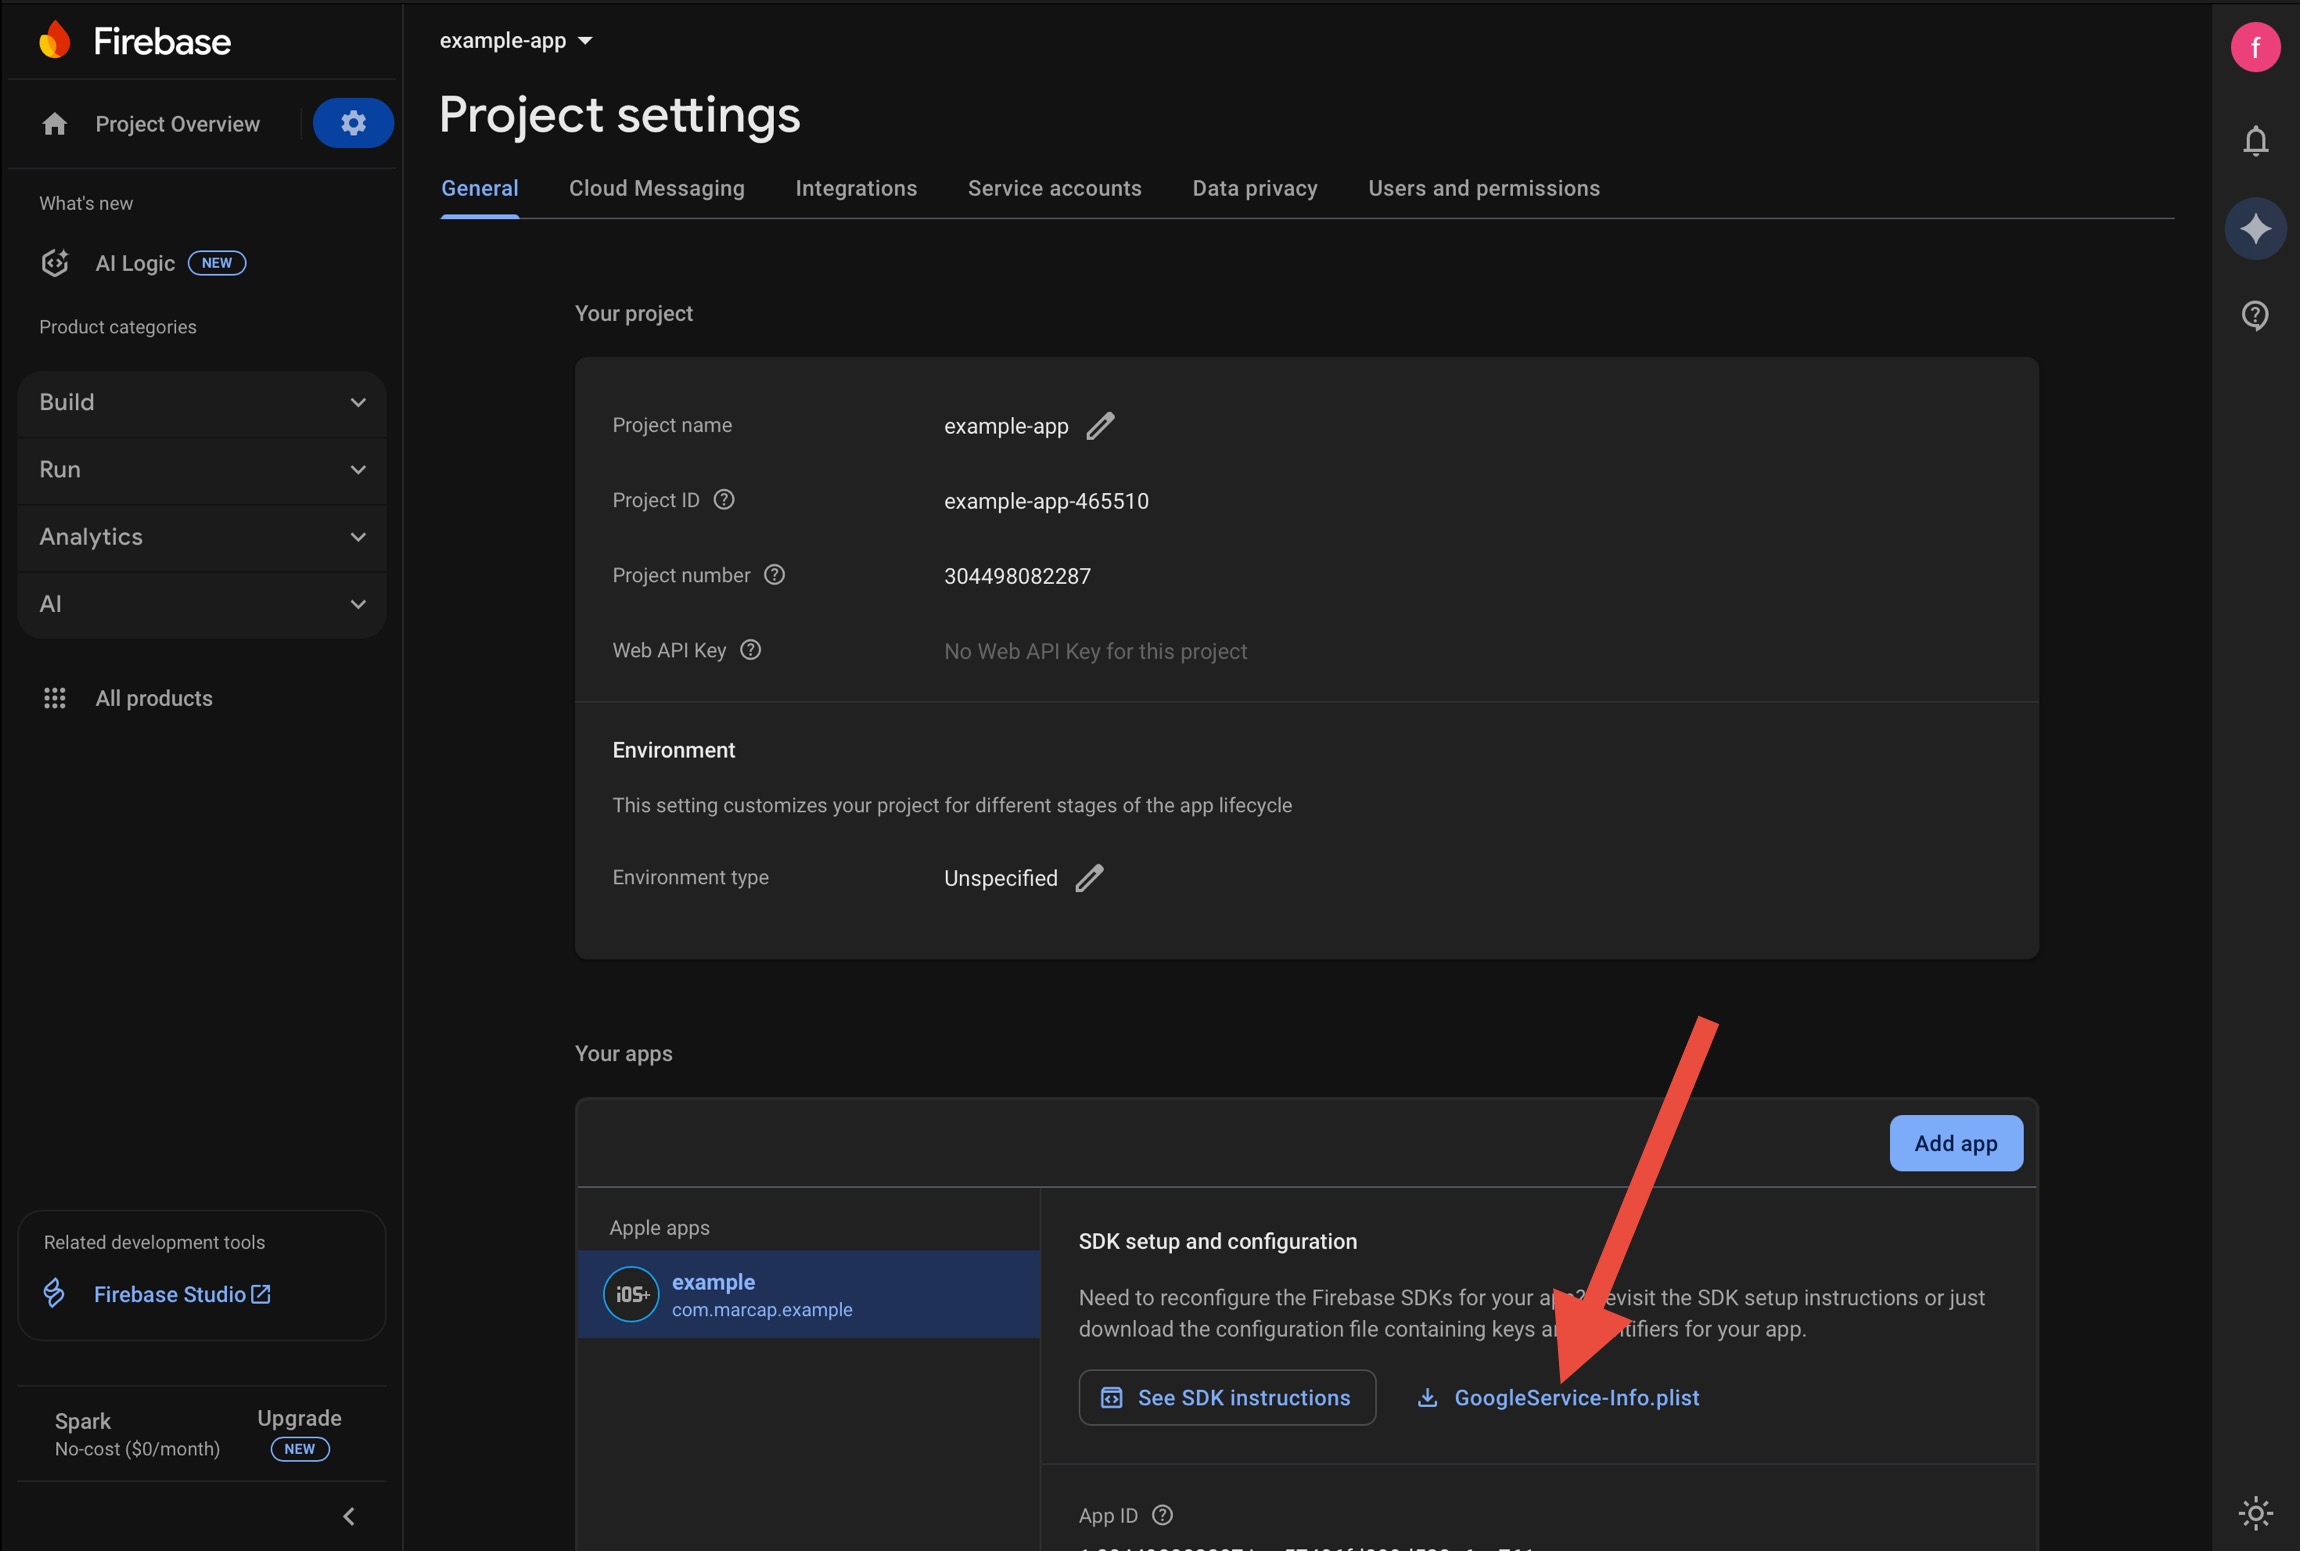
- Download GoogleService-Info.plist file.

If you update the configuration, re-download the file. You can always re-download it from Project Settings.
Enable Authentication > Sign in method > Google
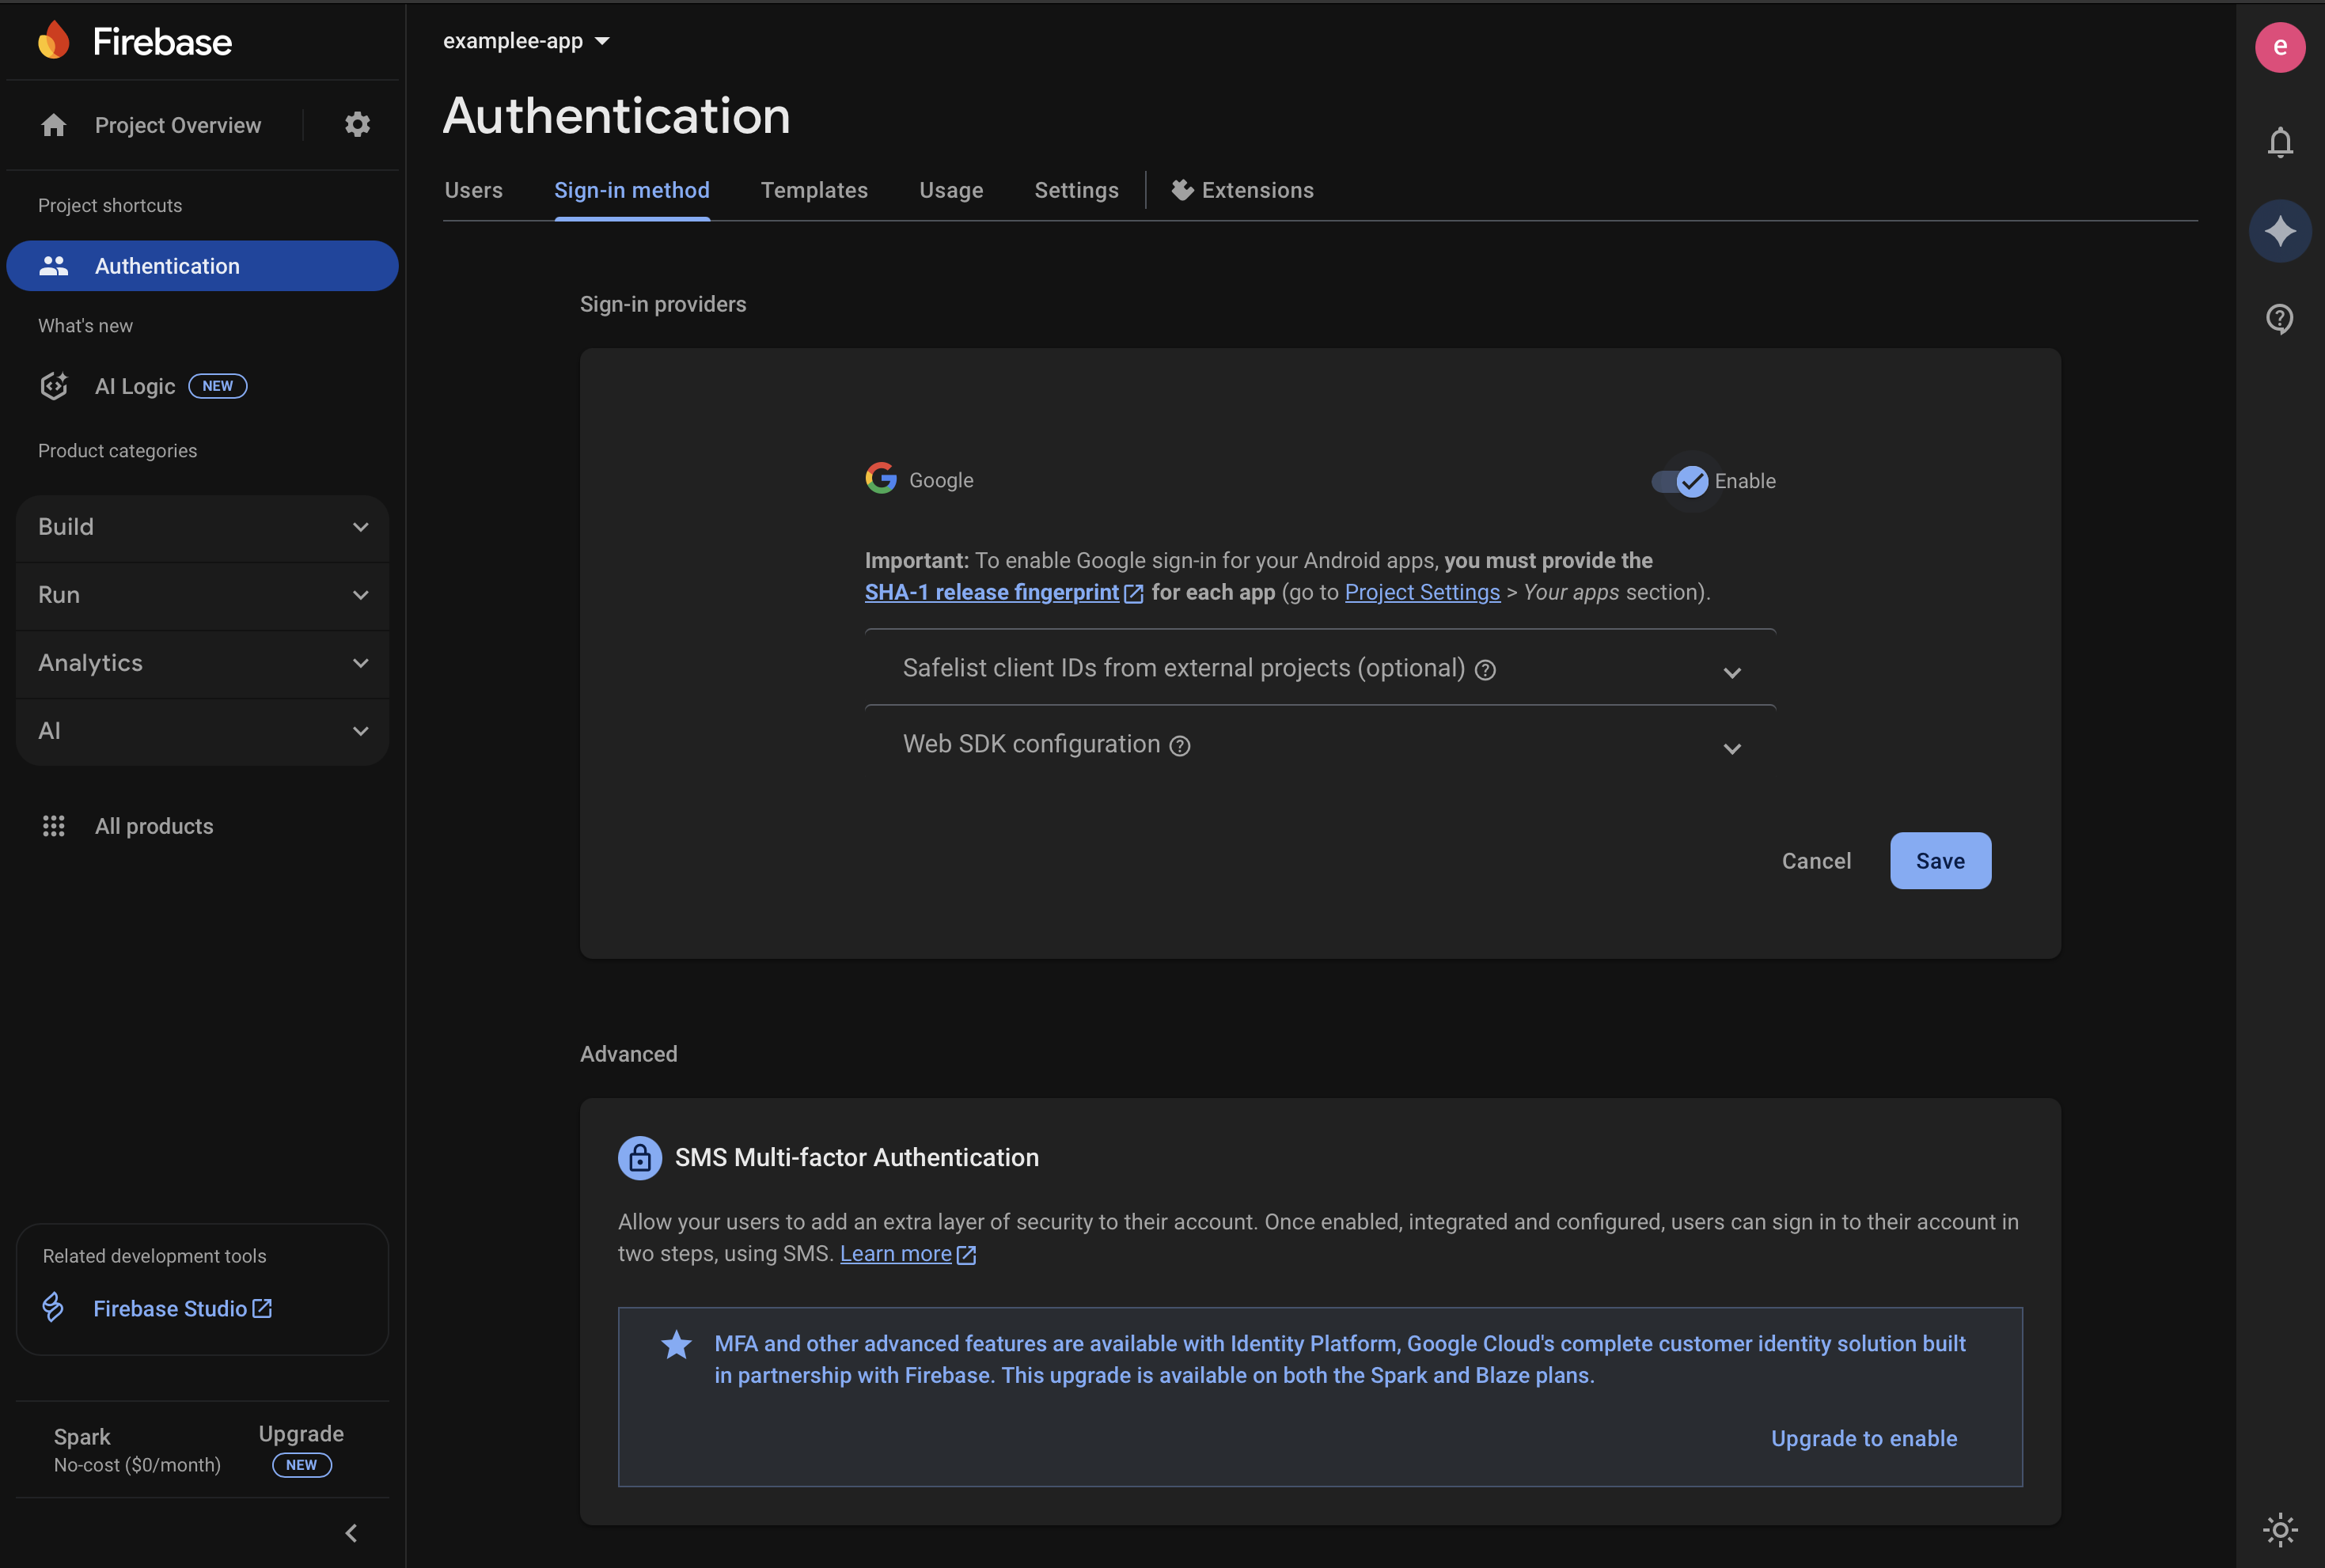
After creating the iOS Firebase project and enabling the provider, Firebase will automatically generate everything necessary for configuration:

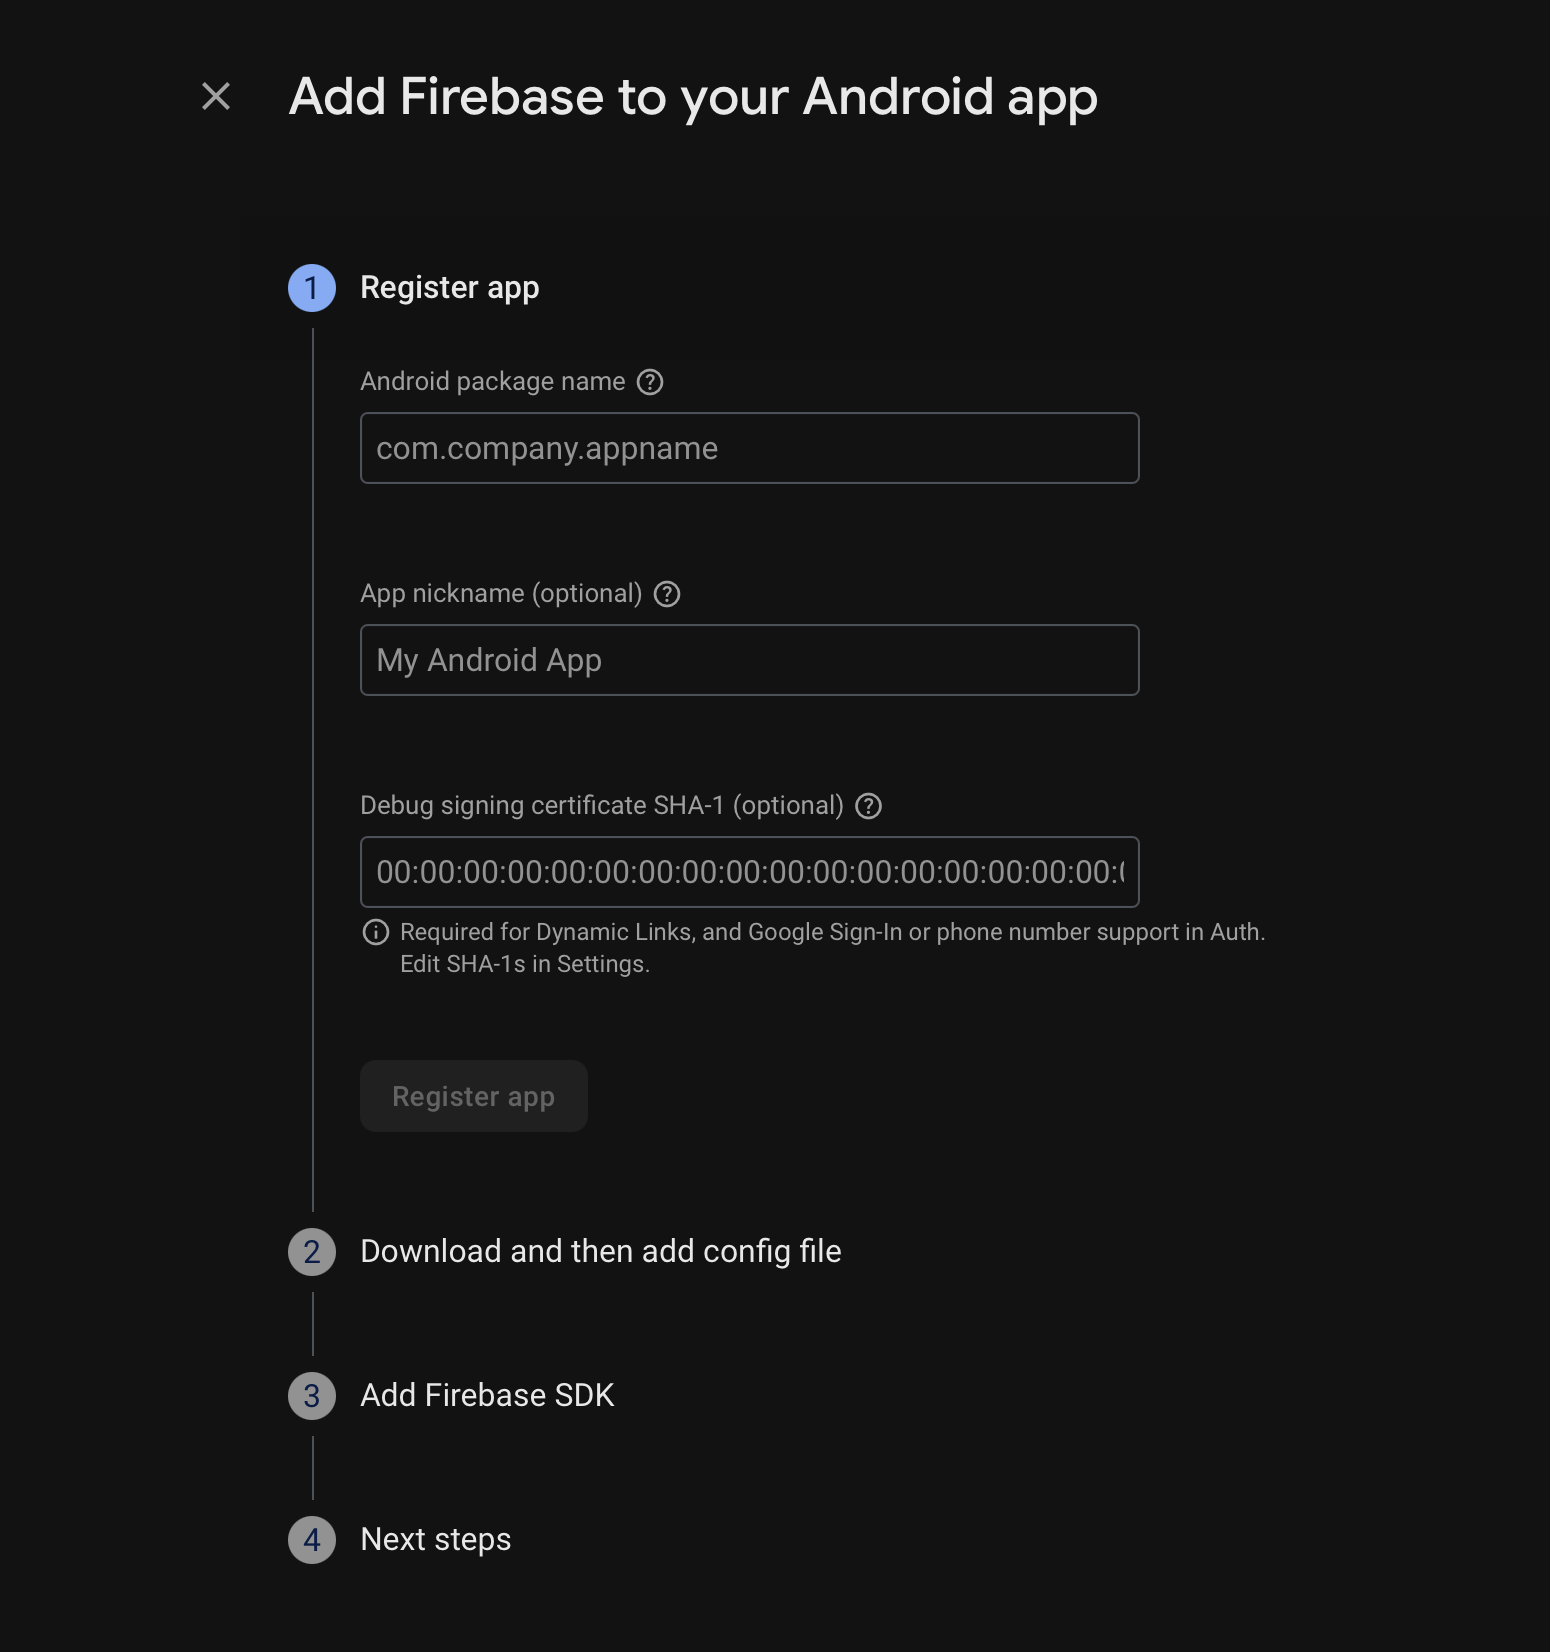
Android Configuration
You must insert the SHA-1 certificate — without it, sign-in won't work and will throw a DEVELOPER_ERROR.
Firebase will generate a separate client for each certificate.
It is normal to have multiple clients for different certificates.
For detailed instructions on generating SHA-1 certificates for different environments (EAS Build, Google Play Store, local development), see our comprehensive SHA-1 Certificate guide.
Quick EAS Setup: To generate the SHA-1 certificate for your Android app, you can use the following command if you are using EAS:
eas credentials
This command will guide you through the process of creating or updating your credentials, including the SHA-1 fingerprint. You can find the generated SHA-1 certificate in your Expo account's credentials section.
Configure Supabase
Supabase Google Provider Documentation
- Create a new Supabase project
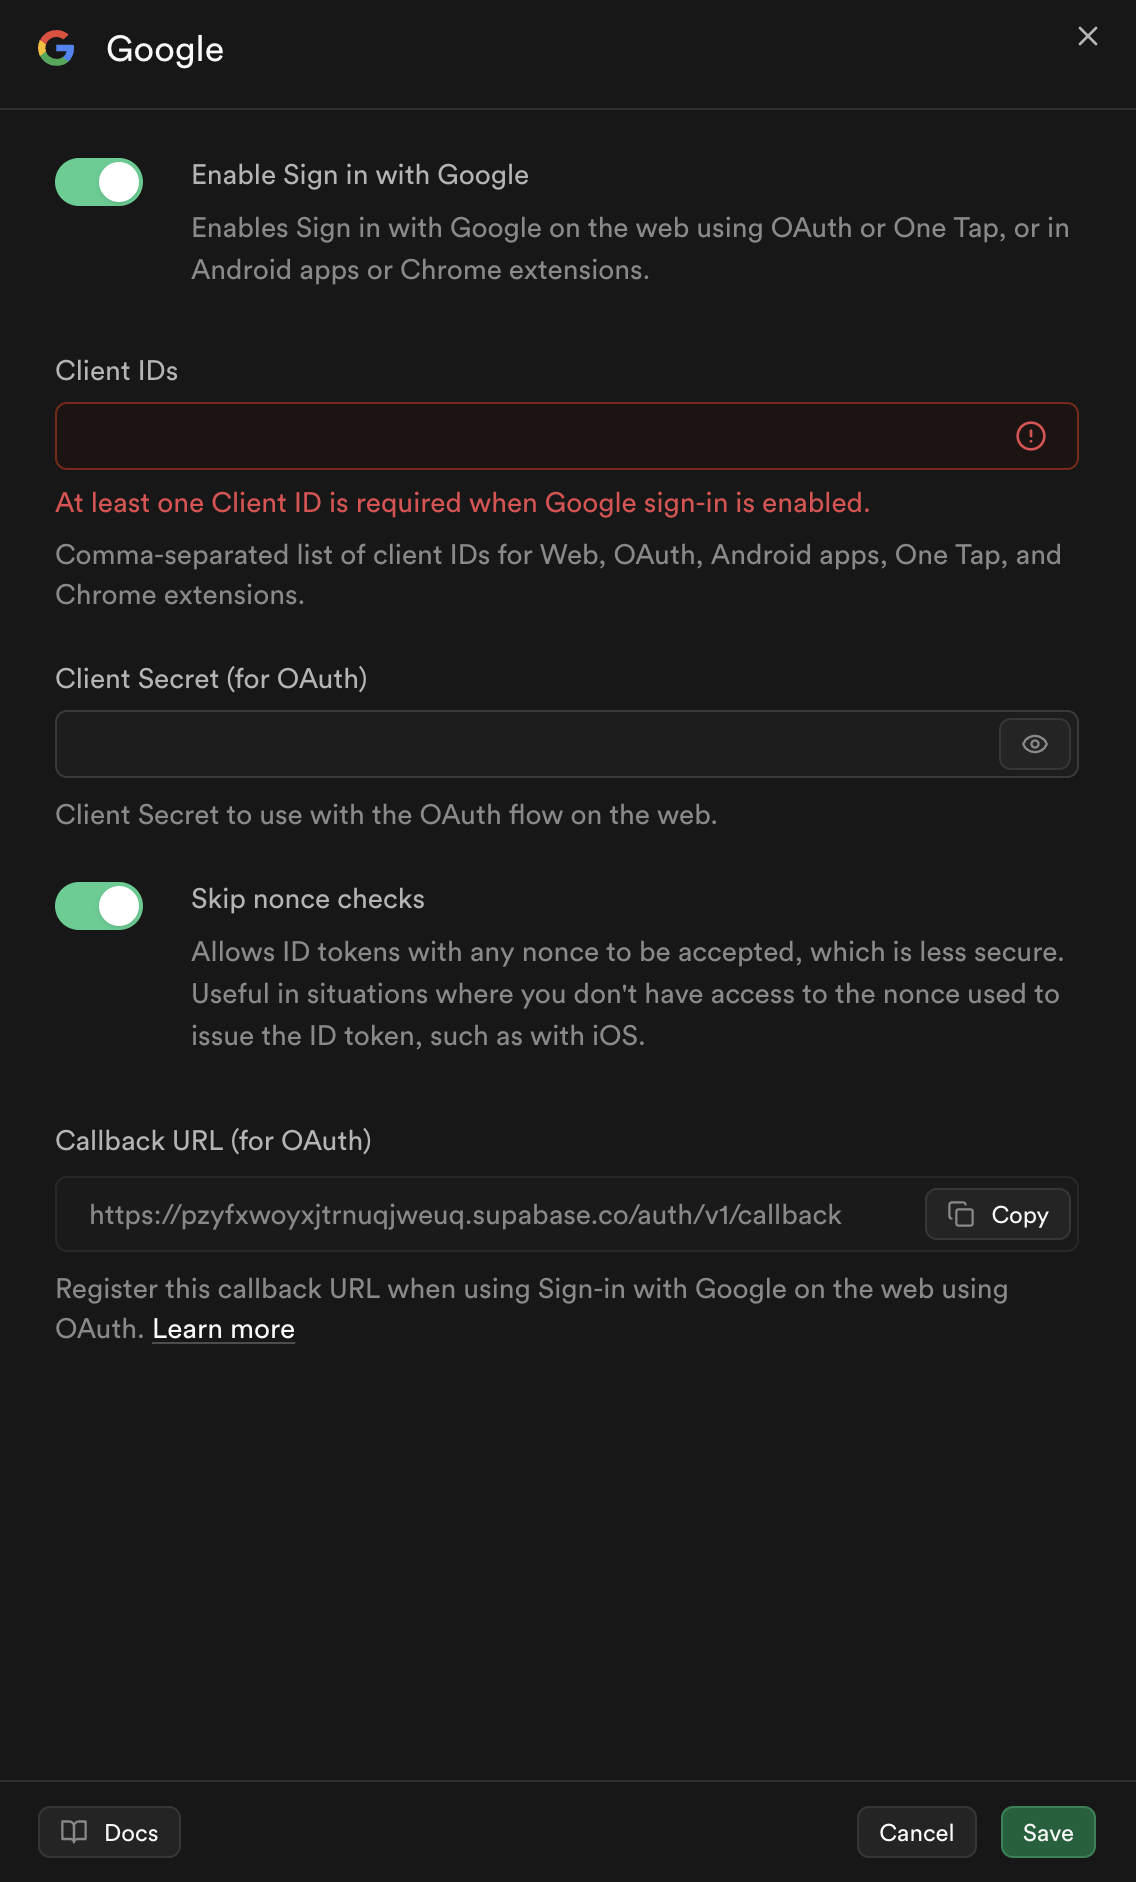
- Go to Supabase Dashboard > Authentication > Sign In / Providers > Google
- Enable the Google Provider
- Enable the option “Skip nonce checks” (recommended for mobile app)
- Copy Client IDs and Client Secret from the Web application type client generated by Firebase and enter them in the Supabase fields.
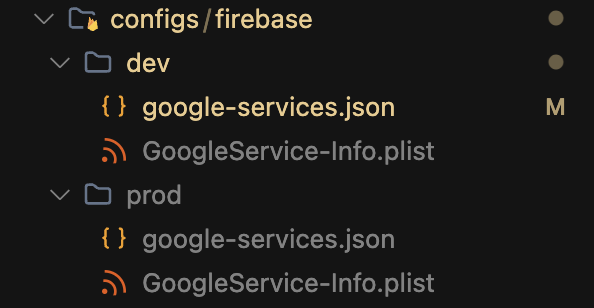
Configure Google Services files (React Native)
https://rnfirebase.io/#local-app-compilation
// other code

const googleServices = () => {
  return {
    android: `./configs/firebase/${path}/google-services.json`,
    ios: `./configs/firebase/${path}/GoogleService-Info.plist`,
  };
};

const config = {
  expo: {
    // other expo config
    ios: {
      // other configs
      usesAppleSignIn: true,
      bundleIdentifier,
      googleServicesFile: googleServices().ios,
      // other configs
    },
    android: {
      // other configs
      package: bundleIdentifier,
      googleServicesFile: googleServices().android,
      // other configs
    },
    plugins: [
      //other plugins

      '@react-native-firebase/app',
      [
        // Needed for firebase
        'expo-build-properties',
        {
          ios: {
            useFrameworks: 'static',
          },
        },
      ],
    ],
  },
};
Configure Google Sign-In (React Native)
React Native Google Sign-In Documentation
Don’t add unused scopes to the configuration, you may encounter “Unverified App” error:
Add this in app.config.ts in expo.plugins:
[
   '@react-native-google-signin/google-signin',
    {
       // This value is the REVERSED_CLIENT_ID from the GoogleService-Info.plist file
       iosUrlScheme: IosSchemeUrl,
     },
],